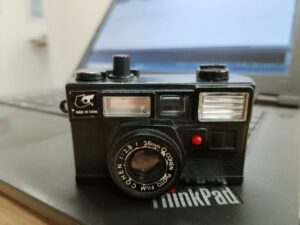
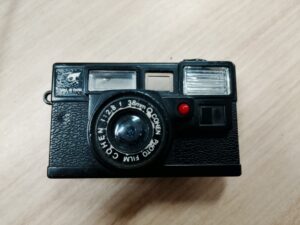
One of our members, Mic, found this toy camera in a box of miscellaneous toys about ten years ago. His children used to play with it when they were younger, and it was rediscovered recently while doing some spring cleaning. Since the kids don’t use it anymore, an idea came to mind:
So Mic being a maker at heart asked himself why not re-purpose it by installing one of the ESP32 camera modules I had lying around? Why? Well… why not?
The plan is to set up the “toy” camera in front of a 3D printer in the Workshop at MelbPC’s Moorabbin Makerspace, so it can be used to monitor prints from the Maker Room up stairs.

ESP32-Cam module glued in place
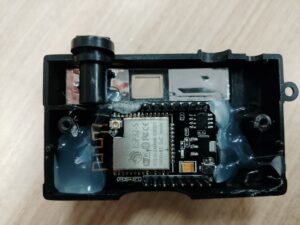
Mic removed the fake shutter that sat behind the plastic lens and replaced it with a custom part which he designed using Tinkercad and 3D-printed at the club. The new piece has an opening that holds the real camera sensor in place behind the toy camera’s lens dome. The ESP32-Cam module is secured with hot melt glue which also keeps the sensor aligned properly.
To program the ESP32-Cam, Mic used a breakout board/hat and uploaded the web-server example from the Arduino IDE after adding local Wi-Fi credentials to the script.
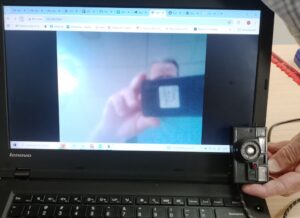
Once the upload was complete, The Serial Monitor is opened to reset the ESP32-Cam. After it connects to Wi-Fi, the Serial Monitor displays the module’s IP address. Enter that address into a web browser, and you should see a page showing the live camera feed.
After adding your Wi-Fi SSID and password to the code, you can then upload it to the ESP32-Cam module. Once programmed, the camera functions as a small web server.
Next, open the Serial Monitor and reset the module. It should display the ESP32-Cam’s IP address. Enter that address into your web browser to view the live camera feed. Your computer or phone must be connected to the same Wi-Fi network as the camera.
Great work Mic.