Fleur Stephens
Have you ever wanted to try your hand at developing a website in WordPress but you don’t have access to a web server? Would you like to play with multiple websites and WordPress themes without breaking your site?. With the right software you can create a web server on your own PC. In this tutorial I’m going to show you how to setup a web server on a USB stick, so you can access and work on your website wherever you go.
- Download Xampp from https://www.apachefriends.org/download.html
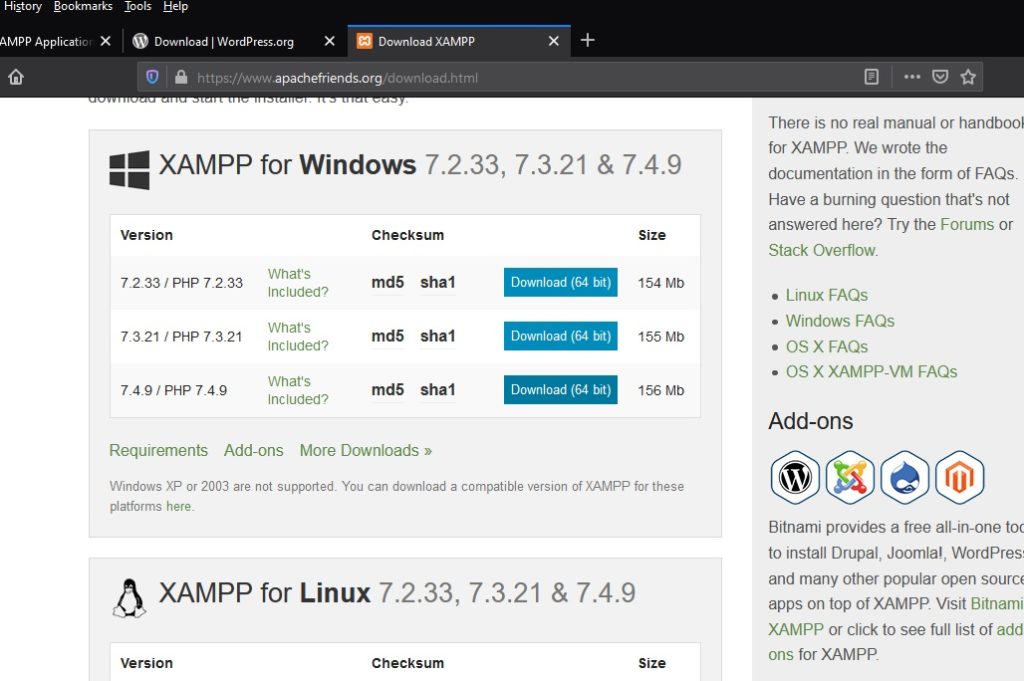
Choose your version and platform (Windows, Linux or Mac) and select download. I have selected the 7.4.9 version as I plan to install WordPress 5.5, which requires PHP 7.4 or higher to run.
Go to your download folder and double click your xampp download
2. Install Xampp

Select Yes when prompted for permission to make changes to your pc.
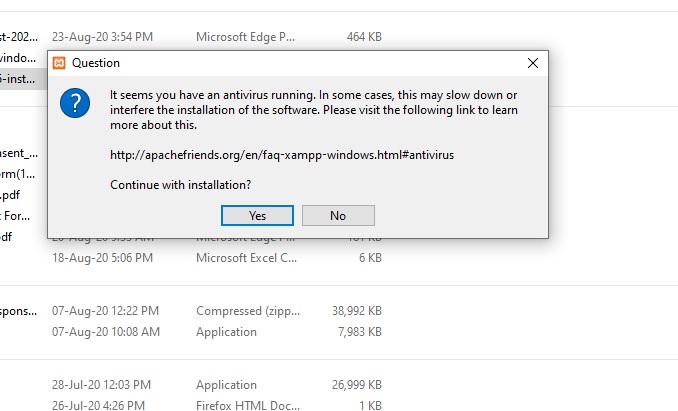
You may be hit with a warning popup in relation to your antivirus interfering with the installation. Select Yes as you are not installing locally so it will not be a problem.
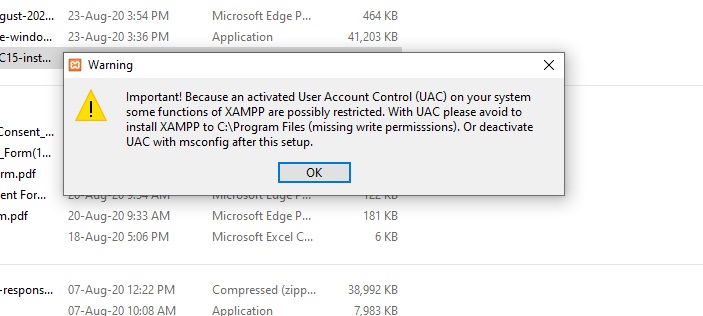
The next problem you might encounter is UAC permission, if the following screen pops up select OK and just ignore it as we’re not installing to a local drive, if we were installing to a local drive we could get around this by installing to the C:\XAMPP rather than C:\Program Files\Xampp
Next you will be greeted with the setup wizard, select Next

The next screen will offer you installation choices, I like to untick FileZilla and Mercury Mail Server, as I will not be using a Mail server and if I need File Zilla I can install it at a later date. I have left Tomcat as I might want to play with Java at some point. The choices for installation presented are as follows
- Apache (The webserver)
- MySQL (Database Tool) Will be required to run WordPress
- FileZilla FTP Utility (Would be used to transfer website to an online web host)
- Mercury Mail Server (An email Server)
- Tomcat (Java Server)
- PHP Programming Language (required by wordpress)
- Perl Programming Language
- phpMyAdmin (software to access the MySQL server)
- Webalizer (Analyses log files and can create html reports)
- Fake Sendmail (Software that allows you to test email sending e.g. forms)
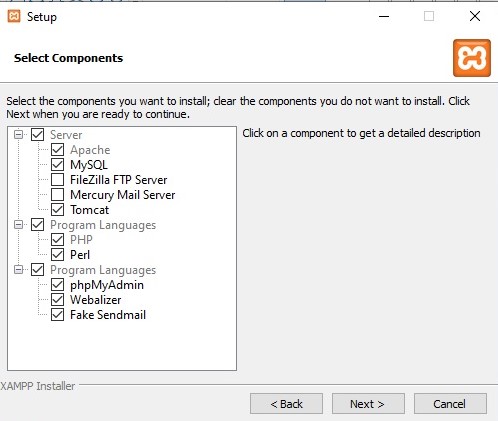
If you’re planning on running WordPress; Apache, MySQL and PHP are the bare minimum, however I will also install Perl, phpMyAdmin and Fake Sendmail as my minimum.
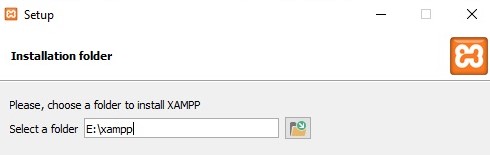
The next screen delivers you, the all important option, Installation folder. So obviously you need to change this to your USB drive (you can find this using the browse button, circled in red) don’t forget to add the xampp folder.
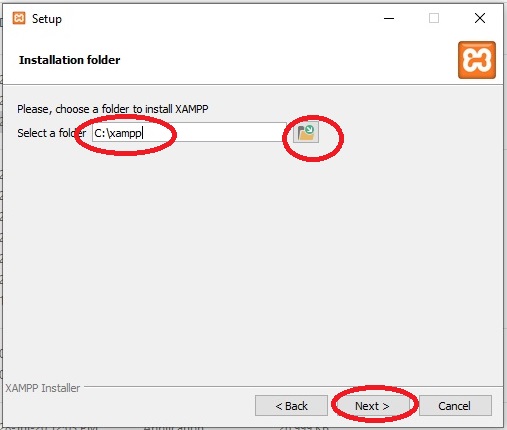
After changing the directory and adding the \Xampp, your page should look like the screenshot below.
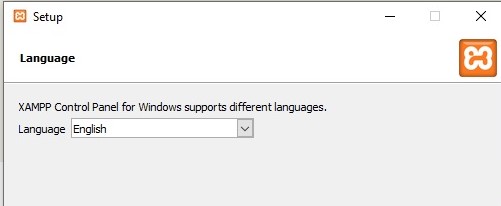
When you have changed the file path to your USB drive and added the folder name (XAMPP) select next to continue. This should cause the choose your language page to appear, so select your language (I highly recommend you leave it as English) and select Next
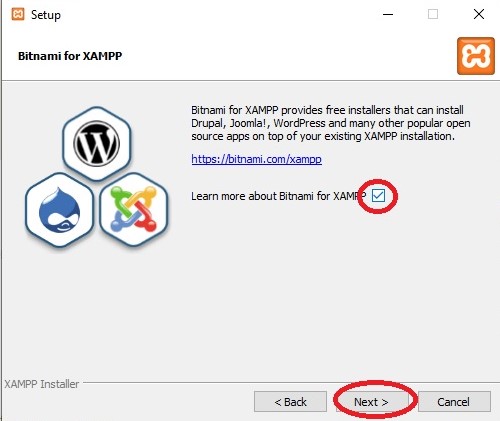
The next page offers you an introduction to Bitnami, if you leave the Bitnami box checked it will open the Bitnami webpage using your default browser. As we cannot use Bitnami installers on our portable webserver I recommend unchecking this box and selecting Next.
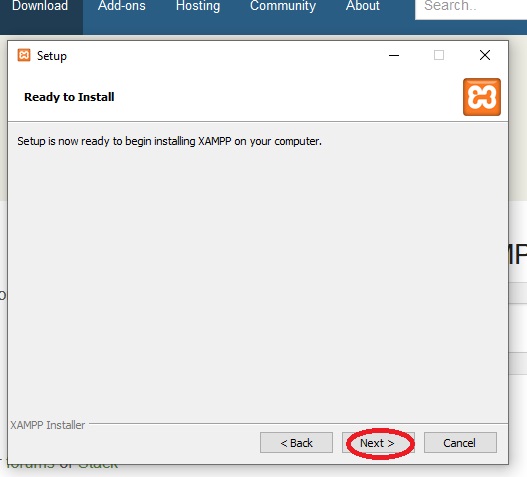
This should take you to the ready to Install page, select Next to begin the installation.
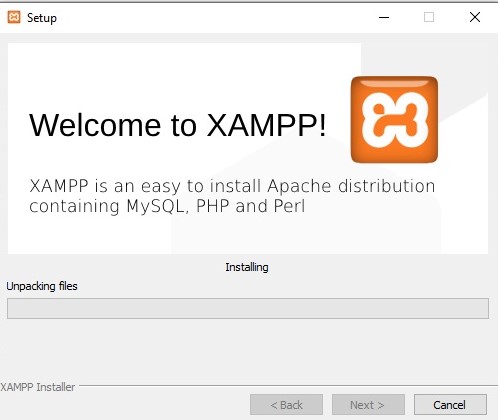
When the installation begins you should see the following.
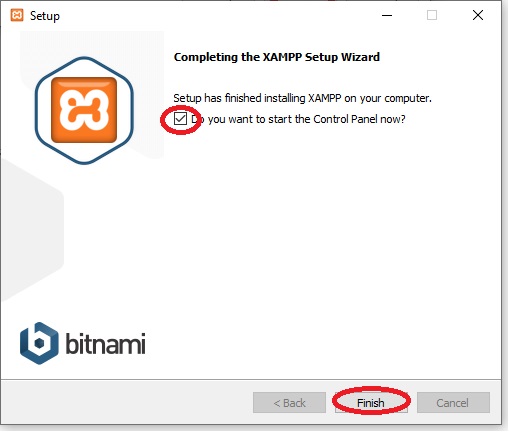
Next is break time, depending on the speed of your USB this could take up to an hour or more. When you see the completing set up screen ensure you have Start the Control Panel checkbox selected then hit the Finish button at the bottom of the screen.
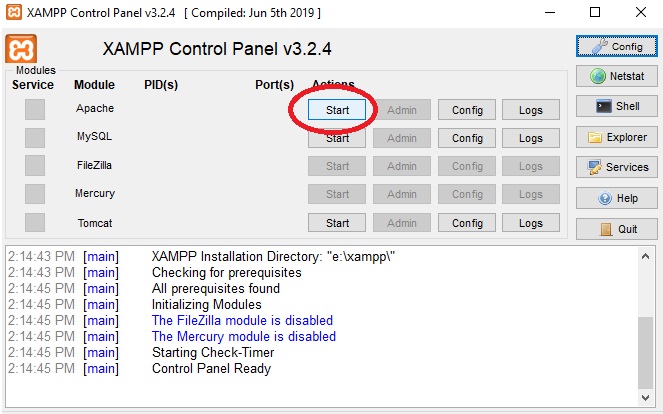
This should open the XAMPP Control Panel. On the control panel select the start button opposite Apache. This will start your webserver. If you would like to use phpMyAdmin, also start the MySQL on the XAMPP control panel. To use/access WordPress on your webserver you need to start both Apache and MySQL.
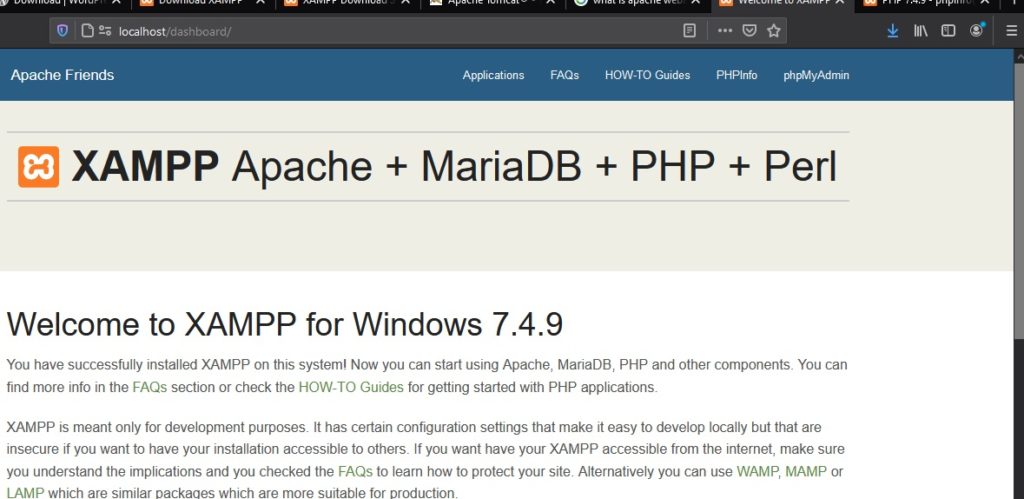
To see your webserver webpage open your browser and type in localhost, this should open your website.
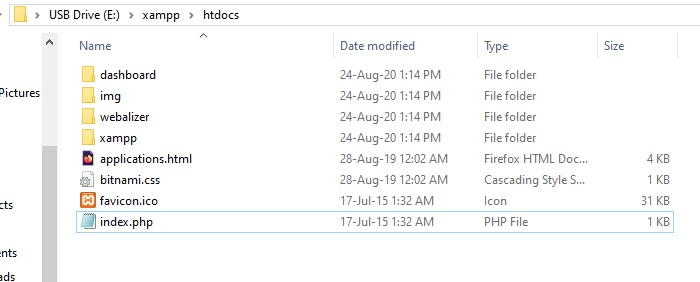
Where can I find my site files? If you followed the installation tutorial you should find your website files at htdocs, e.g. E:\xampp\htdocs where E is my USB drive designation.
Don’t forget to go back to the Xampp control panel and stop any services you have running when you’re finished.
How To Restart your Server
To start Xampp, plug in your USB drive, open file explorer, locate the XAMPP folder, scroll to the end of the folder, locate xampp-control.exe and right click run as administrator. See the screenshot below.

This may cause the windows permission screen to pop up if it does so, select Yes allow changes to be made. If all has gone to plan the Xampp Control Panel should pop up on your screen. Select the services you wish to start (Apache to run localhost) , give it a moment and you should be able to view your webserver via localhost on your web browser.
Next month I will return with a tutorial on how to setup WordPress on your portable web server, so stay tuned for that.